
I have yet to talk much about my family, mostly because I'm extremely private and plastering them all over the Internet freaks me out a bit, but also because this is a food blog and with the exception of commenting on whether they eat the food or not, it just hasn't been really relevant.
Until now. For today's post to seem legit, it is relevant.
I married a cute little Mexicano. His name is Victor. He's straight up from Mexico and therefore, eats only AUTHENTIC Mexican food. We don't go to Mexican restaurants (unless taco shops in San Diego count) and I am forbidden to make anything that has the words Enchilada and Casserole put together. Also, tacos do not have ground beef, tomatoes and lettuce...well, at least not in our house.
Now, a little about myself. My name is Sandra (hopefully, you know that already, if not, welcome). I am a small town girl from Indiana. Yes. Indiana. Where the % of Mexicans is about 0.0001%. Where our tacos come with a crunchy shell (versus a tortilla) and ground beef, tomatoes, lettuce, and jarred salsa are the norm. To say that we had an adjustment when we got married, is, well...putting it nicely.
Thankfully, 12 1/2 yrs later, we have adjusted. I love only authentic Mexican food now (not that anything is wrong with non-authentic Mexican food, but once you have the real thing, it's hard to accept any substitutes) and have even learned to make it like the best Mexican grandmas...ok, maybe not as great as a grandma. Who EVER cooks as well as our grandmas, right? But definitely close! I've had Mexican friends and family compliment my authentic food, so I have confidence I have been taught well!
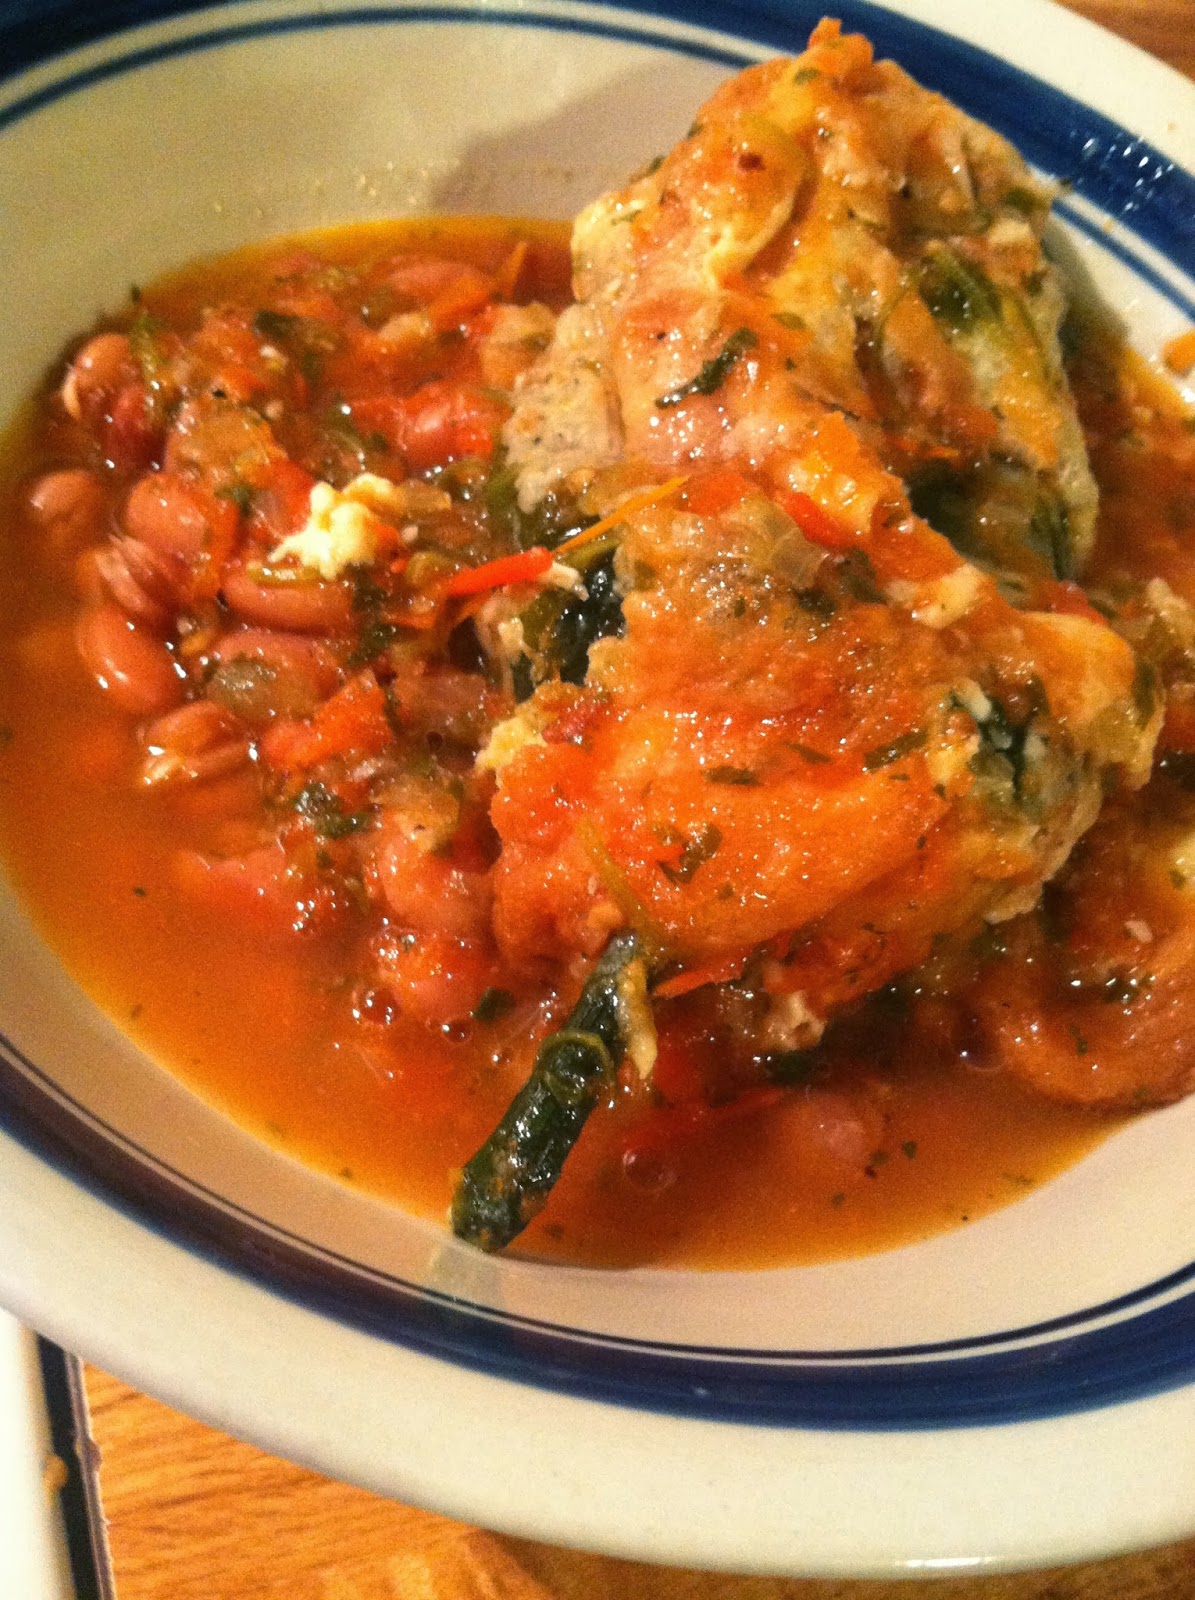
Which brings us to today's Authentic Mexican food! Chiles Rellenos! A.K.A, for the gringos, stuffed pasilla chiles in a yummy tomato sauce (and dear Gringos, don't worry...all of this used to be foreign for me too!).

For the Chiles:
Pasilla chiles (those green peppers in the pic...try to pick firm, straight ones)
Tuna (my hubs likes his stuffed with tuna)
Queso Fresco (this is fresh cheese...you can buy this at most stores. Cacique is a brand sold in most places, even Walmart, near the yogurt)
6 eggs
Flour
Sauce:
Tomatoes (about 6 small...roma size)
Cilantro
2 garlic cloves
1/3 of an onion
Knorr chicken base
Ok...ready? This is a very photo heavy post, but if you've never made them before, it will be very helpful. Oh, and the hands in these pics belong to the cute little Mexican previously mentioned. He is our Guest Chef today (because he's awesome...because I needed to take pics...and because any time I can get him to cook dinner, you better believe I do!)

Step 1: Roast the chiles. Yes, this is a flame on my stove and the chiles are laid on top to burn roast. I've seen gringos do this in the oven (and after burning several fingers, I'm thinking there may be something to that concept), however every Mexican I've seen who makes these, do it on the stove top.

As you can see, the skins start to burn. Once the entire chile looks black like this, they are done.


Put the chiles in a plastic bag and close while you continue to roast the rest of the chiles. This will help the skin to come off easily. Leave them in the bag while you start on the tomato sauce.


For the sauce, you want to quarter the tomatoes, chunk the onion, peel the garlic and cut the ends off the bunch of cilantro (always use the stem part of the cilantro for cooking...this saves the prettier leafy part for decoration). Add enough water to just barely cover the tomatoes and simmer until everything is soft. You will then take out the vegetables and blend until everything is smooth (sorry, I forgot to take a pic of the blending).
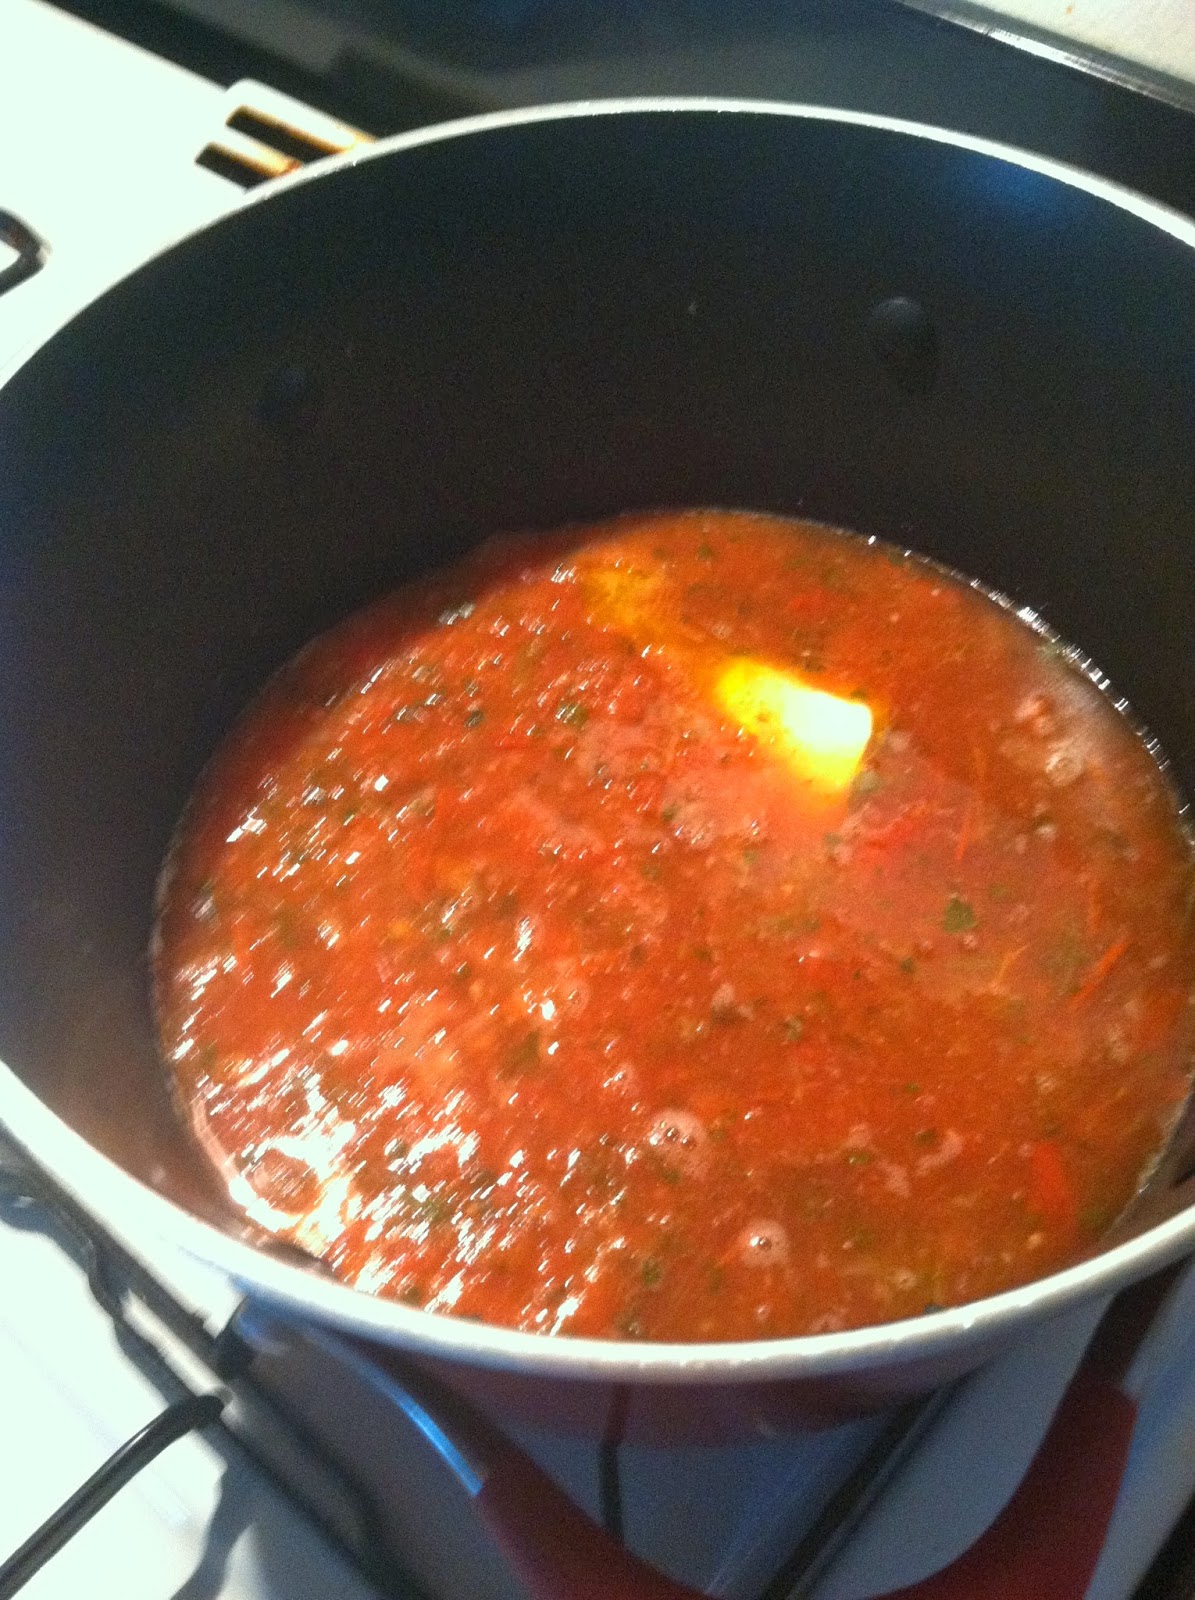

Here are the blended vegetables. Once blended, pour back into the pot and add a stick of butter (first pic shows the butter). Simmer on low until butter is melted. Then comes the secret ingredient to ALL authentic Mexican food...

Seriously, this is added to everything we cook! Add a tbsp of Knorr Chicken base (or enough to taste...it's ok if the sauce tastes just a teeny bit salty. Once the chiles are added they will soak up some of the salt. But don't go crazy). Keep the sauce on low and simmering while you go back to the chiles.


Get your stuffing ready. We used queso fresco (if you can't find this you can use mozarella...it's not the same but will still be good) and tuna.


Here's what I consider the most difficult part. It's not really hard, just a bit messy. Under a small stream of running water start peeling off the burned skin of the chiles. Since it's been steaming in the plastic bag it should just slide right off. Just make sure you get all of it and rub gently. You want to keep the chile whole. The 2nd pic shows a blurred picture of how to remove the seeds inside. Sorry about that! Just tear a small slit in the chile and reach in and scrape the seeds out. The stem should not come out so don't start digging and pulling out the seeds. Just stick your finger in there and rub them out, then rinse the chiles to make sure you've cleaned all the skin and seeds off.


They should look like this when done. Don't worry if they don't. When I first started making these, they were all sorts of torn up! How they ended up resembling a chile is beyond me. Thankfully they will still taste good. You can see the inside is free of seeds but that the stem is still intact. You won't eat the stem...you just can't remove it during prep or all the stuffing would fall out while cooking. Now lay them on a clean towel or paper towels and pat gently to dry them.

Now get a little bit of flour in a container that will be large enough to fit the chiles. You will roll the chile in the flour before frying. Set this aside.


Remember those 6 eggs I had on the list of ingredients? Separate the egg whites into a mixing bowl (you can use a hand mixer or a stand mixer like I used). Keep the yokes. Beat the egg whites until stiff peaks form, then while still mixing, slowly add the yokes back into the whites. It should end up looking like the second pic. The peaks won't be stiff after adding in the yoke, but should still be somewhat firm. Set aside.


Go back to those chiles. Now you need to stuff them with the cheese and tuna you had prepped earlier. We had 6 chiles so we did 3 of each. You want them to be full but not so stuffed you can't close the chile.

Once the chiles are stuffed, go grab the flour you poured...roll each stuffed chile in the flour. Note: the chiles are not sealed shut after you stuff them. They should close if you hold them but you will need to hold them closed as you gently roll them in the flour (don't worry, some of our stuffing came out too...just stick it back in there). You want the whole chile coated with the flour.

After rolling in flour, dip the chile in the egg mix. You want it coated well. If your eggs are beaten properly it should completely coat the chile and stay on like in the pic.

Place the chiles in hot oil to fry. Once the bottom has firmed up and turned a golden brown, gently roll the chile until all sides are cooked. (I have no tips on an easy way to roll the chiles...they usually have a mind of their own and want to slide all over the place instead of roll...I've used slotted spoons, spatulas, tongs...it's always the same. Just do your best and make sure you get them turned. It does help if you don't overstuff the pan with too many chiles).

Once you've rolled them over and they have browned, take them out and put them on paper towels to drain. See how some of them look beautiful, while others are a bit funky (top = beautiful, bottom = eh, not so much)...it's because the bottom ones didn't want to roll the way we wanted. So don't worry if they don't look beautiful...they will all taste great, promise!

Once the chiles have drained, gently place them into the big pot of tomato sauce you have simmering on low (remember that?...I know, a lot has happened since we started simmering that sauce). Let the chiles simmer with a lid on for 5-10 min. Then you're done!
Serve over pinto beans with lots of sauce on top!
Whew! That was a lot! I know...it took us a little over an hour to make these. They aren't hard, there's just a lot of steps. But they are sooooo worth it! Give them a try and let me know how they came out!
Happily Homemade
Sandra

Sounds great I’m going to try it!
ReplyDeleteit is a good article blog thanks for sharing.
ReplyDeletefood truck near me Houston
best food truck in houston
best food truck park in houston, party catering houston
best restaurants in houston
best authentic mexico food in houston