The great thing about these towels are that they seriously take 3 seconds to make, and it can save you money on your grocery budget. By using non-paper towels, you won't have to buy the actual paper towels. You can also use any absorbent scrap fabric you have lying around the house, or you can buy fabric to match a particular theme in your kitchen. Old bath towels also work great for non-paper towels. Reduce, Re-use, Recycle, right?
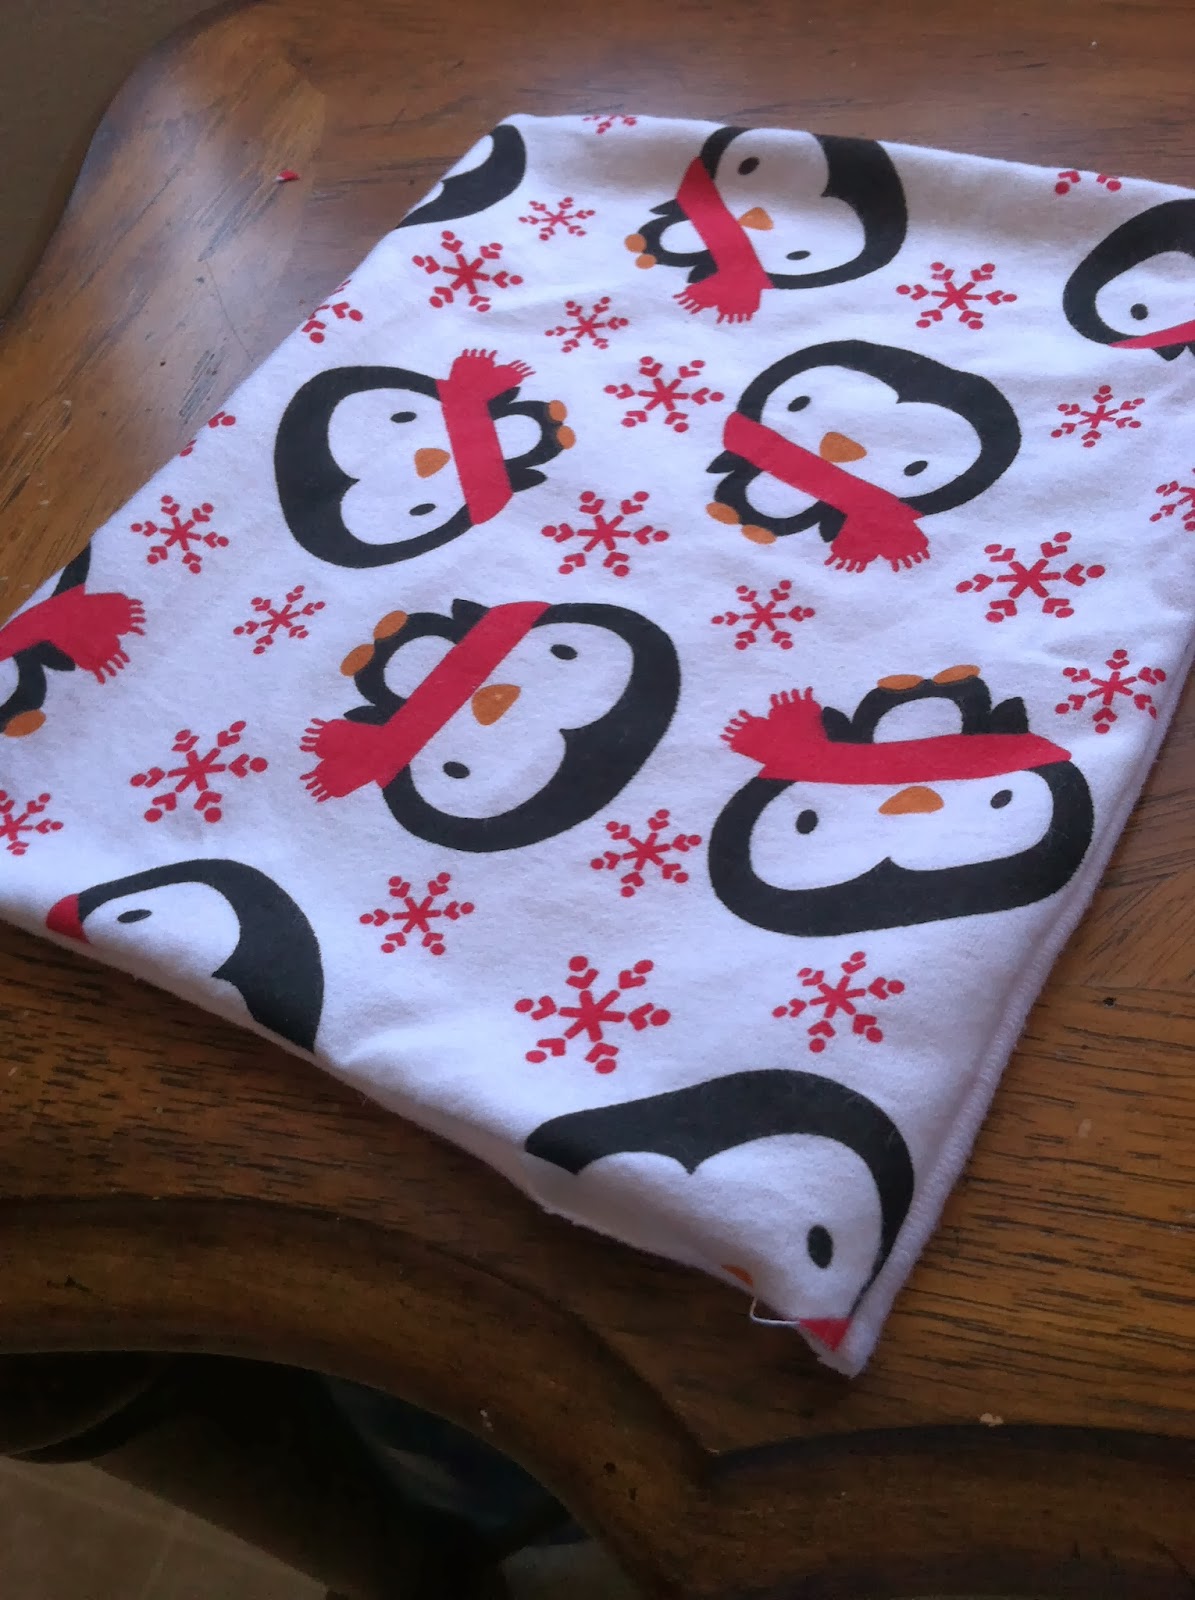
Here is the finished towel. It's basically 2 squares of fabric (the size is up to you...mine were 12" x 11" and 12" x 12"). Use what you have when it comes to size. My fabric worked out to 12" x 12" pieces to get the most out of what I had. You may prefer larger towels, or if you have small scraps of fabric, make wash cloth sized towels. That's the great part about these...they really are made out of what you have!
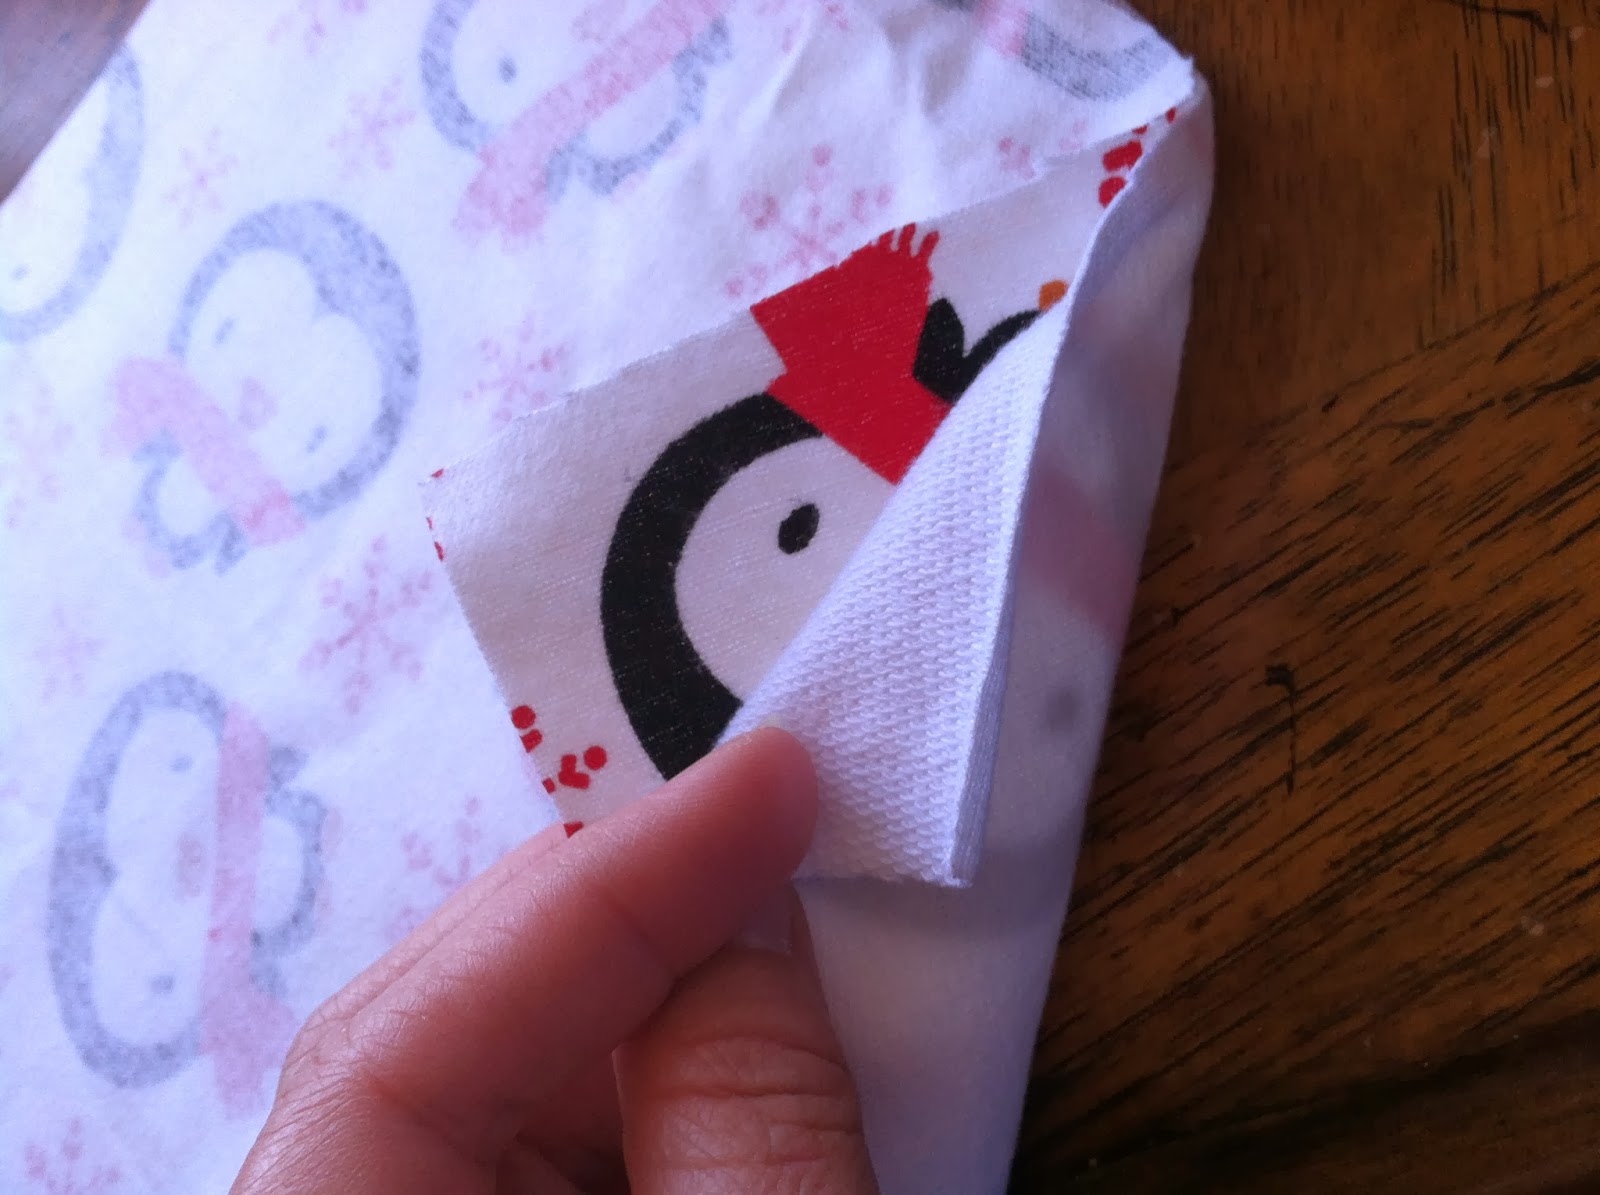
For my un-paper towels, I used some leftover flannel (penguin print) that I had used to make matching pajama pants for the kiddos at Christmas. Flannel is a nice absorbent fabric and works well for non-paper towels. For the back of the towels, I used some left over french terry I had. It's very similar to what baby bath towels are made of...which could also be used if you have any lying around that your kids can't use any longer!
If you have old raggedy bath towels that you don't use but hate to toss, cut them up and use them as the back of your un-paper towels! They will be super absorbent and a great way to reuse those old bath towels! Maybe you even have some hand towels that just don't look very pretty any more...use them for the back of your new un-paper towels! Or, maybe you have some of the microfiber clothes from the automotive dept of your local discount store...they are very absorbent, but quite an ugly color of blue (at least blue is what I usually see)...use it as the back to something prettier. See! The possibilities are endless!
Back to sewing though... Take your two pieces of fabric and line them up with the outsides facing inward. They will get turned right side out before we are done, so don't worry. Make sure all sides/edges match up. Feel free to pin the sides together so that they stay put and make it easier to sew. Or, if you are like me, just wing it and sew like a madman!
Now, sew along all 4 sides, leaving a hole to turn the towel right side out. Your hole can be anywhere. You'll sew it closed in a few minutes.
Turn your towel right side out and push out all the corners. Here, you could be super accurate and use an iron to press the edges flat, but I didn't. If I had purchased some super cute kitchen-y fabric to make a set of these towels, I probably would have...just to give it that crispy edge. But, I didn't, so I didn't. Just use your hands and press the towel flat. Fold the open hole so that the edges are folded inside the towel. Pin it closed. Then go around and pin the towel along the edges to help hold the shape while you sew the top.
Sew along the edges, about 1/4" from the edge, all the way around the towel, making sure you sew the hole closed. That's it! Easy Peasy!
You can, at this point, be finished with your towel. Or, like me, you can sew a line down the middle. This helps to keep the towel from getting all wonky when it's washed, but it's really just a personal preference.
So there you have it! Easy non-paper towels! Are you going to make some? What fabric will you use? Do you have a theme already in your kitchen you want to match?
Happily Homemade,
Sandra


No comments:
Post a Comment