Saturday, January 11, 2014

Homemade Saltine Style Crackers

I made some chili the other night in my crockpot and realized (after it was finished, of course) that I had no crackers to eat with my chili.  I don't know about you, but I have to have crackers with my chili.  I do.  I'm a scooper...I scoop a spoonful of chili on my cracker and then eat the cracker.  Some people do the crumble thing (crumble crackers into their soups), but I've never been able to handle the soggy cracker texture that happens.  So, I scoop.  Like every bite.  And when I don't have crackers to scoop, I can't eat chili.  It's that simple.


Of course, I'm also lazy.  Which means that I didn't want to go to the store and buy a box of saltine crackers.  Plus, my family eats saltines like starved people!  I bought a huge box from Costco (equivalent to 3 or 4 boxes) and they were finished within a week!!  Craziness!  So, I decided to make my own.  It does take a bit of time...mostly the rolling of the dough, but it's worth it.  These are soooo inexpensive to make and I like them a lot better.  They are harder than store bought saltines, which means they can hold a mean scoop of chili without breaking apart and getting crumbs into my chili!  Give them a try and let me know what you think.

Homemade Saltine Style Crackers

4 cups flour
1 tbsp baking powder
1 tsp salt
1/2 stick (1/4 cup) butter
1 1/3 cup milk

*For salted topped crackers, mix 1 egg white and 1 tbsp water, brush over the top of the unbaked cracker and sprinkle with salt.*

Preheat your oven to 325F.

I love this cracker recipe because it takes such few ingredients and comes together very easily, making it a fun, inexpensive option to store bought crackers.  Take your flour, baking soda, and salt and mix together in a large bowl.
 
Cut up your butter into small slices and, using a fork or pastry cutter, cut into the flour mix until you get coarse crumbs.  Don't worry if there are a few larger chunks.  Try to get it crumbly as best as you can, but it doesn't have to be perfect.  You could also use a food processor if you want.
 
Add the milk and mix with a wooden spoon until it starts to come together as a dough. 
 
Use your hands and pull the dough together until it becomes a ball.  It's ok to knead it a few times, but it's not bread, so don't go crazy.  Tear the dough into 4 fairly equal sections.  You will roll out the dough by section (it makes a lot of dough/crackers).
 
Now comes the hardest part...roll out the dough.  I won't lie, the dough is a bit hard to get rolled out...it's a tough dough.  But keep at it and once it gets rolled to a certain point, it becomes much easier.  I don't know if letting the dough sit for a few minutes after mixing and before rolling would help, but you can give that a try if you want.  Either way, start rolling and roll it out (on a floured surface) until the dough is very thin.  The thinner the dough, the crispier the cracker.  It will roll out HUGE!  Like I said, this recipe makes a lot of dough/crackers.
 
Cut out your crackers.  You can use a cookie cutter, like I did, or just use a pizza cutter and cut squares.  I felt like being a bit fancy this time, but I've done the pizza cutter squares many times and they all taste the same.
 
Place your crackers on a baking sheet and, with a fork, poke a few holes in the top of the cracker.  This keeps the cracker from puffing up while baking (and gives it the classic saltine cracker look).  If you want salted tops, this is the time to make your egg wash and brush it lightly over the tops of the crackers and then sprinkle some salt on top.  I don't like salted crackers (I even buy unsalted at the store) so I omitted this step. 
 
Bake at 325F for about 10-12 min (depending on how thin you rolled your crackers).  Keep watch so they don't burn.  Once you see the slightest golden-ness around the edges, take the crackers out and flip over.  Put them back in the oven for a minute or two until slightly golden.  Take them out and let them cool.  If the cracker is thin enough, and baked enough, it should be crunchy.  If you find it isn't quite crunchy enough (but more of a stale cracker texture) put it back in the oven for a minute or two (this is what happened when I first took them out...that's why I flipped them over.  They were perfect then).
 
And there you have 'em!  You're very own homemade saltine crackers...perfect for scooping chili!
Enjoy!
 
Happily Homemade,
Sandra


Friday, January 10, 2014

Quick & Easy Non-Paper Towels

Today is going to be a crafty day.  We are going to make Non-paper towels.  What are non-paper towels, you ask?  It's the "green" name chosen for hand towels.  But hand towels, or dish towels, sounds very boring, so we call them non-paper, or un-paper, towels.  Sounds way more chic, no?

The great thing about these towels are that they seriously take 3 seconds to make, and it can save you money on your grocery budget.  By using non-paper towels, you won't have to buy the actual paper towels.  You can also use any absorbent scrap fabric you have lying around the house, or you can buy fabric to match a particular theme in your kitchen.  Old bath towels also work great for non-paper towels.  Reduce, Re-use, Recycle, right?

 
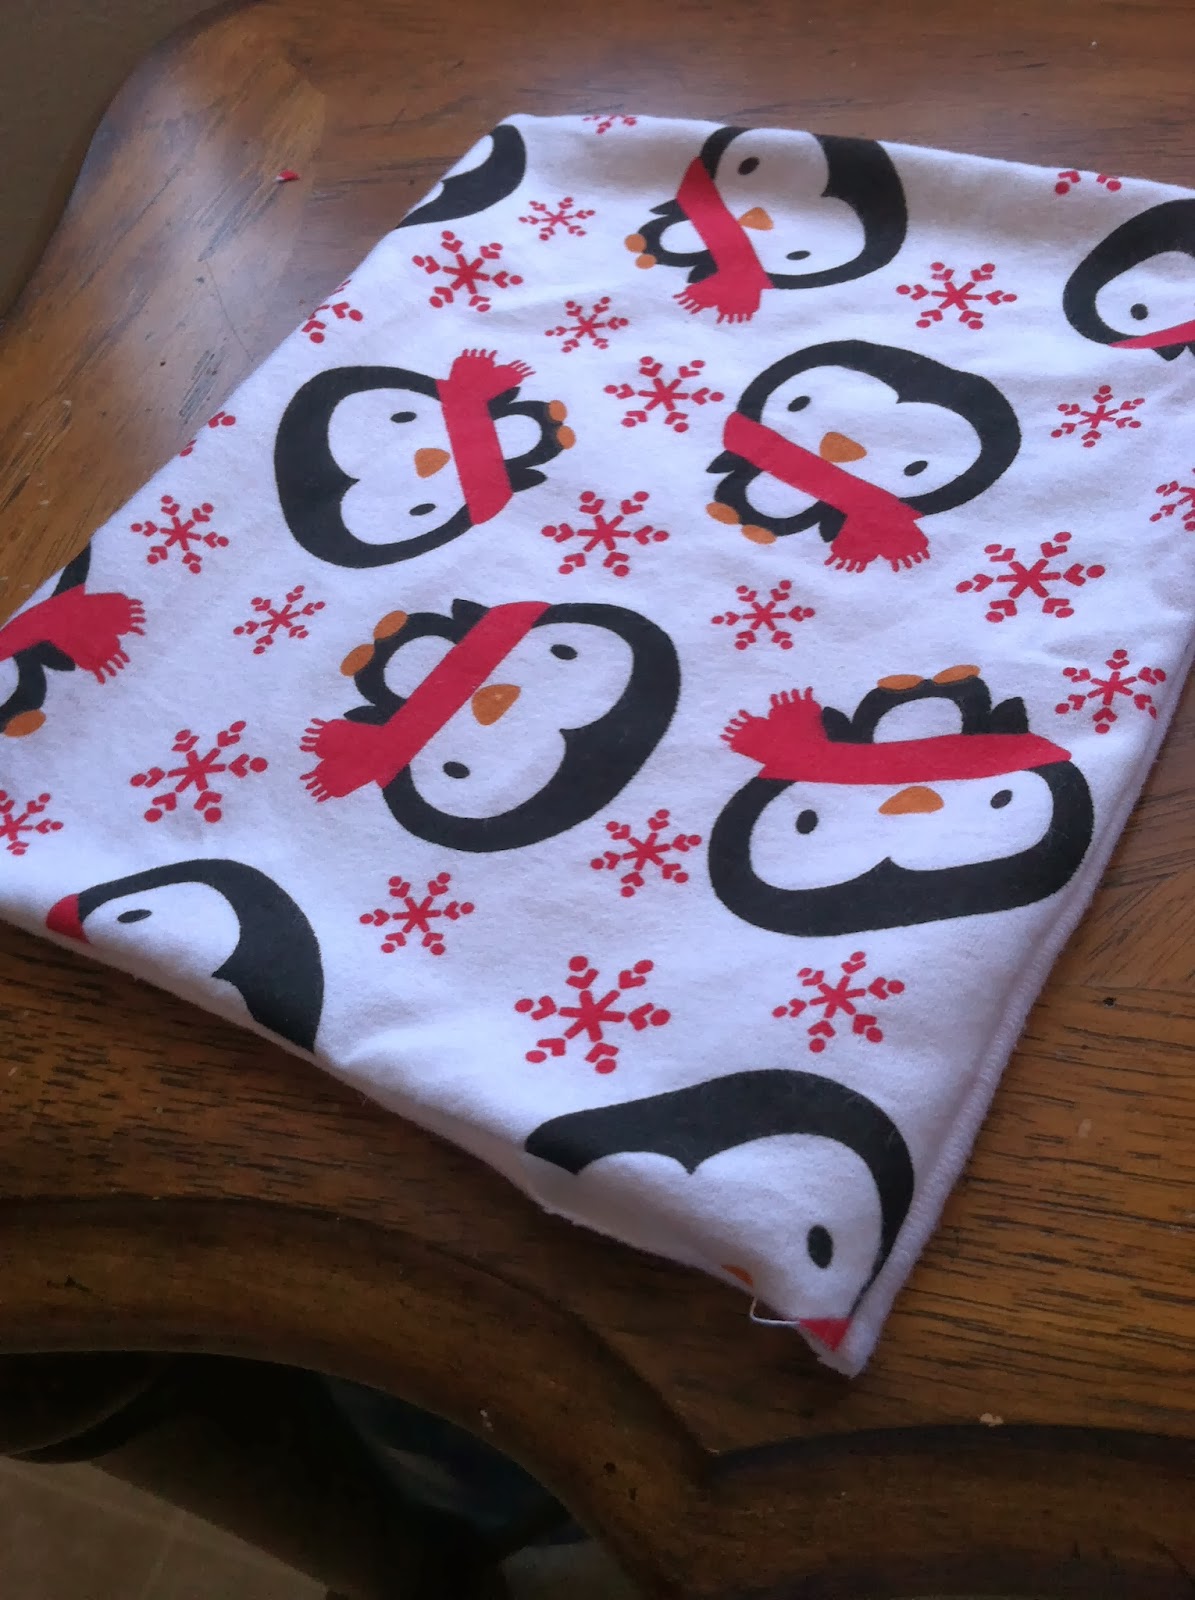
Here is the finished towel.  It's basically 2 squares of fabric (the size is up to you...mine were 12" x 11" and 12" x 12").  Use what you have when it comes to size.  My fabric worked out to 12" x 12" pieces to get the most out of what I had.  You may prefer larger towels, or if you have small scraps of fabric, make wash cloth sized towels.  That's the great part about these...they really are made out of what you have!

 
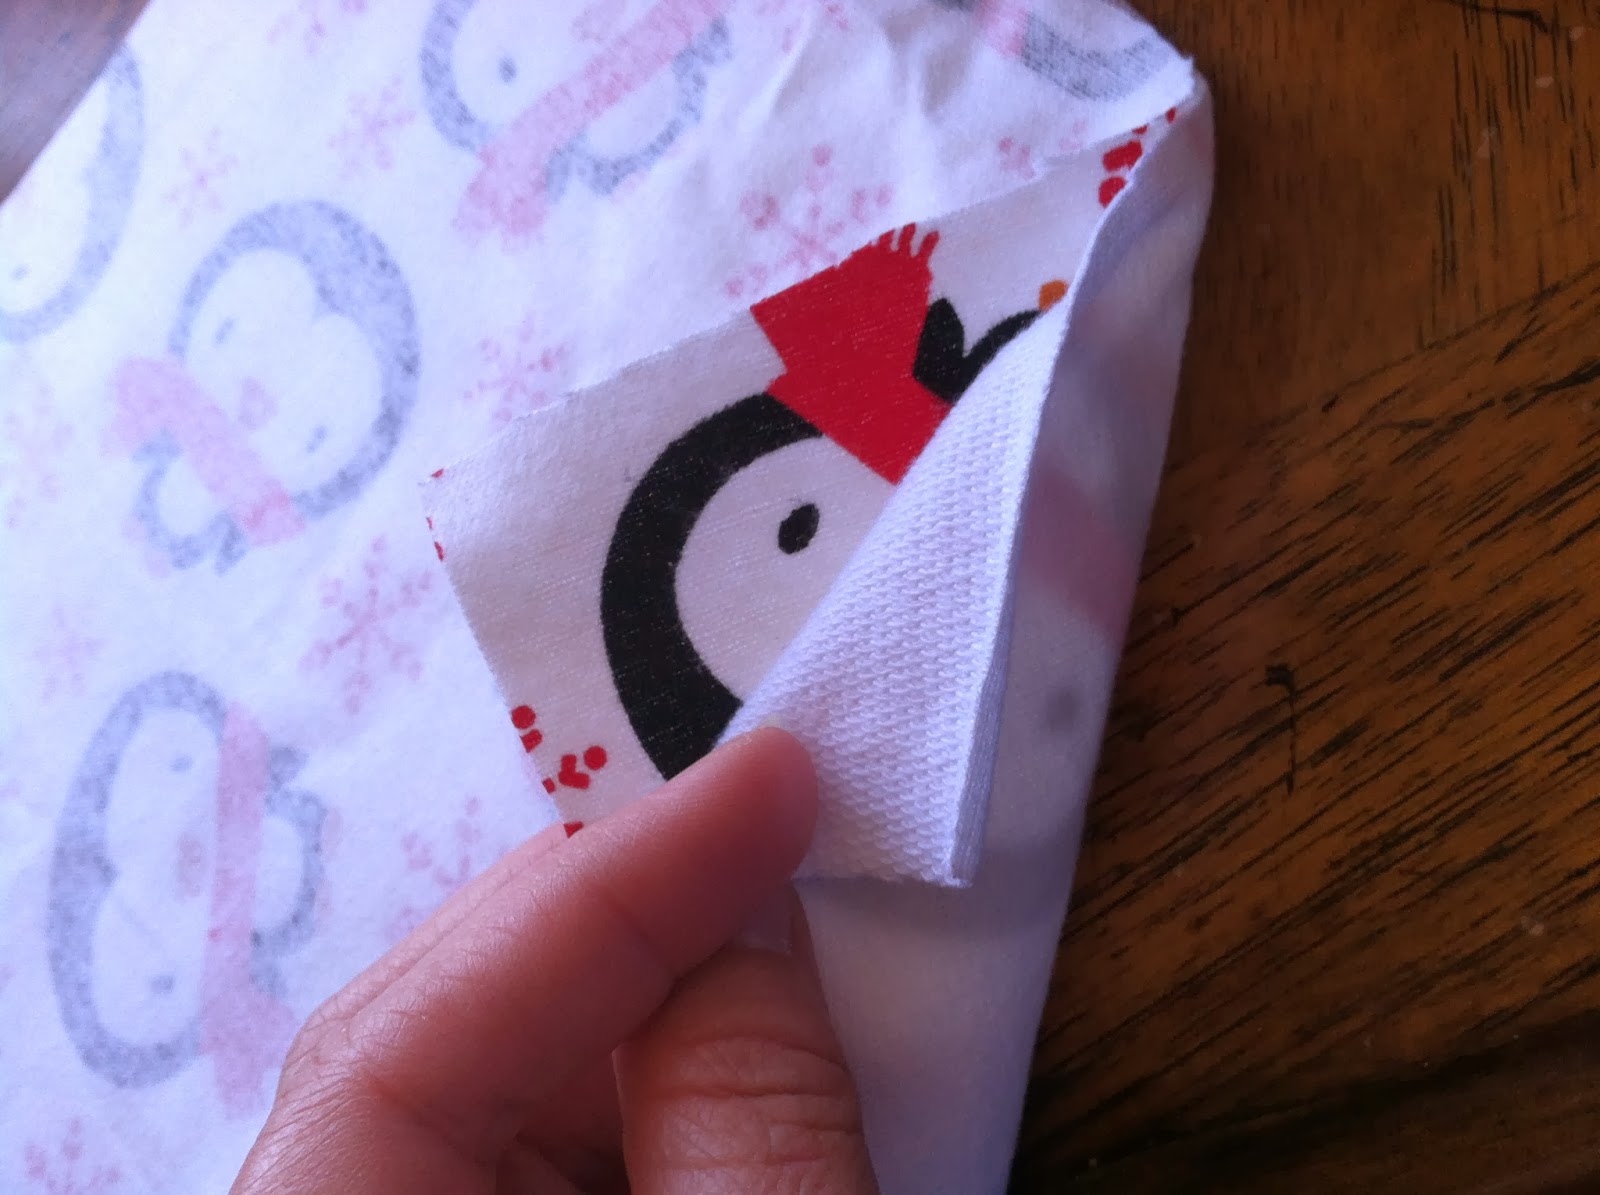
For my un-paper towels, I used some leftover flannel (penguin print) that I had used to make matching pajama pants for the kiddos at Christmas.  Flannel is a nice absorbent fabric and works well for non-paper towels.  For the back of the towels, I used some left over french terry I had.  It's very similar to what baby bath towels are made of...which could also be used if you have any lying around that your kids can't use any longer! 
 
If you have old raggedy bath towels that you don't use but hate to toss, cut them up and use them as the back of your un-paper towels!  They will be super absorbent and a great way to reuse those old bath towels!  Maybe you even have some hand towels that just don't look very pretty any more...use them for the back of your new un-paper towels!  Or, maybe you have some of the microfiber clothes from the automotive dept of your local discount store...they are very absorbent, but quite an ugly color of blue (at least blue is what I usually see)...use it as the back to something prettier.  See!  The possibilities are endless!
 
Back to sewing though...  Take your two pieces of fabric and line them up with the outsides facing inward.  They will get turned right side out before we are done, so don't worry.  Make sure all sides/edges match up.  Feel free to pin the sides together so that they stay put and make it easier to sew.  Or, if you are like me, just wing it and sew like a madman!
 
Now, sew along all 4 sides, leaving a hole to turn the towel right side out.  Your hole can be anywhere.  You'll sew it closed in a few minutes.
 
 
Turn your towel right side out and push out all the corners.  Here, you could be super accurate and use an iron to press the edges flat, but I didn't.  If I had purchased some super cute kitchen-y fabric to make a set of these towels, I probably would have...just to give it that crispy edge.  But, I didn't, so I didn't.  Just use your hands and press the towel flat.  Fold the open hole so that the edges are folded inside the towel.  Pin it closed.  Then go around and pin the towel along the edges to help hold the shape while you sew the top.
 
Sew along the edges, about 1/4" from the edge, all the way around the towel, making sure you sew the hole closed.  That's it!  Easy Peasy!
 
You can, at this point, be finished with your towel.  Or, like me, you can sew a line down the middle.  This helps to keep the towel from getting all wonky when it's washed, but it's really just a personal preference.
 
So there you have it!  Easy non-paper towels!  Are you going to make some?  What fabric will you use?  Do you have a theme already in your kitchen you want to match?
 
Happily Homemade,
Sandra
 

Thursday, January 9, 2014

Simple Homemade Granola

Today, I bring you a super easy way to make granola.  No fancy ingredients, just use what you have on hand.  I will give you the granola ratio and you add what you like.  Easy peasy!

Homemade granola is a great way to sweeten up your yogurt or stay away from the "icky" stuff that's usually added to the granola bought from the store.  


Simple Homemade Granola

4 cups oats (old fashioned, not quick cooking)
2 cups nuts/seeds/coconut
1 cup dried fruit (or choc chips, candies, etc)
1/2 tsp salt
 
1/2 cup liquid sweetener (I used agave...you can use honey, maple syrup, etc)
2 tbsp oil (I used sunflower oil, but coconut oil, canola, vegetable, etc works too)
 
Turn your oven to 325F and get out a couple rimmed cookie sheets or casserole dishes.  I used cookie sheets, but think I will go with the casserole dishes next time because the edges of my granola got a bit more toasted than I would have liked.  Your choice, just keep a close eye with the cookie sheets.
 
 
Since the above recipe is simply the ratio for your granola, use whatever you have on hand.  

For my 4 cups of oats, I used 3 cups old fashioned oats and 3/4 cup 6 grain cereal and 1/4 cup flax meal I found in the cabinet (it's amazing what is hidden in the dark recesses of those cabinets).  I also used agave and sunflower oil for my sweetener/oil mix.  I then added 1/2 cup dried banana chips that I bought a century ago and for some reason were never eaten and 1 cup of craisens (yes, this equals 1 1/2 cups for the dried fruit add in, but I like lots of dried fruit...see how adaptable this recipe is?!).
 
Take your sweetener and oil and put it on low heat until it boils.  I have seen some recipes that skip this step and have you just pour it over the oats, but I'm always afraid the oil and sweetener won't be mixed well and some of the oats will be oily and others sweet (this probably wouldn't happen, I'm just weird this way!). 
 
Mix your oats and seeds together.
 
Add the sweetener/oil mix to the oats and seeds.  Mix well until all the oats are coated evenly.
Add the fruit and mix.
 
Spread the granola on your baking sheets (or casserole dishes).  Bake at 325F for about 30 min.  Check the granola every 10 min and stir.  When the granola becomes golden, it's done.  Be careful to not overcook the granola.  It goes from golden to burnt in a matter of seconds.  Just check and stir every 10 min and then towards the end, keep peeking until it's the color you want it.  Remove from the oven and let it cool.  It's ok if it isn't crunchy when you take it out...it will crunch up as it cools.
 
 
Top your yogurt with your homemade granola, eat it with milk like cereal, or however you normally eat granola!  A great way to save money and eat healthier!  Enjoy!
 
 
Happily Homemade
Sandra


Monday, January 6, 2014

Jalapeno, Bacon, & Cheese Stuffed Burgers

Do you ever crave a big, fat, juicy hamburger?  You know, the ones that cost $10+ at fancy burger joints?  All dripping with gooey cheese and sauce? 

Well, I do!  The Handsome Mexican doesn't...he says it's an American thing...he's probably right...we American's love our burgers.  He has, however, seen a commercial for a burger stuffer doo-hickey (yes, that's the technical name) and keeps saying how great the burgers look.  So, while I don't have the stuffer, and it's not really necessary, I managed to make some outrageous stuffed burgers for dinner last night, and even HM liked them!


Jalapeno, Bacon, & Cheese Stuffed Burgers

Ground beef (enough to make as many patties as you want...you will need 2 patties per burger)
Seasonings for the burger (I use salt, pepper, garlic powder, and onion powder for my burgers)
Bacon, cooked until crisp
 
Cheese Filling:
1 cup cheddar cheese, shredded
1/2 cup mozzarella cheese, shredded
1/3 cup cream cheese
1/2 tsp garlic powder
1/2 tsp pepper
1/2 tbsp crushed red pepper (more or less to taste...mine wasn't spicy)
1 chopped jalapeno (more or less to taste...my jalapeno was wimpy-A.K.A. not spicy, so I used the whole thing...use less if you have a spicy chile or more if you like spicy)
 
Mix all the cheese filling ingredients together.  I ended up using my hands and it came together a lot like a cheese ball (which it probably could be eaten that way too...).
 
Next start shaping your patties.  I made mine pretty thin and gave it a lip, like a bowl, to hold in the cheesy goodness.
 
Scoop a spoonful of the cheese filling into the beef patty.  Spread it out a bit.
 
Add some cooked bacon on top of the cheese filling.  After doing this, I think the next time I will actually crumble the bacon and mix it into the cheese filling and save a step.
 
Top with the second patty and smoosh the edges together to seal.  That will keep most of the cheese inside the burger when it cooks.  Go ahead and cook the burger the way you do any other hamburger (grill, skillet...I put mine in a skillet and fried it.)
 
Put that baby on a bun with lettuce, sauteed onions, tomato, more bacon, mayo and mustard (or whatever you like on your burger) and satisfy your gooey burger craving!  Enjoy!
 
Happily Homemade,
Sandra